Install & Configure VNC Server in Ubuntu Server
VNC allows you to connect to a remote computer and control it via a Graphical User Interface. In this tutorial, I will show you how you can install a VNC server in Ubuntu running on a separate server or VPS.
You can also check out my previous posts where I have covered how to Install Gnome, XFCE, KDE, and Mate on an Ubuntu Server. If you already have a desktop environment installed on your system and just need VNC access, you can skip this step and follow along.
Before we proceed with the installation, we will need to make sure that our repositories are up to date. To do this, we can run this command:
1
sudo apt update
You might also want to update your Ubuntu install:
1
sudo apt upgrade
Installing a VNC Server
For this tutorial, we will be installing TigerVNC server on our instance of Ubuntu server. There are other VNC software available out there, but TigerVNC is the easiest one to install and set up in my opinion.
Type in a terminal:
1
sudo apt install tigervnc-standalone-server -y
Once the installation is done, we need to start and configure the VNC server, so we can connect to it.
In the terminal, type:
1
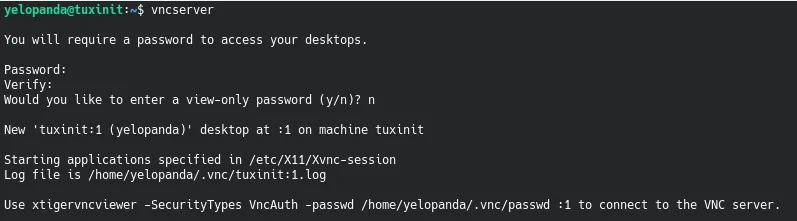
vncserver
It will now ask you to enter a password. This password is to authenticate the VNC session. It is recommended that you make it secure and treat it as root password for your server.
 Once the password is set go ahead and kill the server. This step is required as we need to make a xstartup file to put the command for Gnome DE so it starts with the VNC server.
Type in:
1
vncserver -kill :1
Output:
1
2
yelopanda@tuxinit:~$ vncserver -kill :1
Killing Xtigervnc process ID 1242... success!
Note: change :1 with the correct value, check the output of vncserver command.
Now, create a new file called xstartup at ~/.vnc/. we can use nano to do that. type:
1
nano ~/.vnc/xstartup
In this file, type:
1
2
#!/bin/bash
gnome-session &
gnome-session is used for the Gnome Desktop environment. If have xfce4 installed, instead of gnome-session, you will type startxfce4. For KDE Plasma, it would be startkde and for Openbox, you can use openbox-session .
Once you are done, save this file and exit nano. Now, go ahead and start the VNC server using the command:
1
vncserver :1 --localhost no -geometry 1280x720
:1 is the name of the X11 display on which our VNC server is running.
--localhost no will allow us to access our vnc server outside of the local network. you can change no to yes if you only want to be acble to access vnc from within your network.
-goemetry is used to set the resolution on the display first starts at.
Connecting to the VNC Session
Once you run the command above, your VNC server should be up and running. To access your server, you will need to find the IP address of the server (host) machine, the port on which vnc server is running and a vncviwer app on the client machine.
Note: Port forwarding might be required if VNC server is installed on your home computer and you need to access it outside your local network.
To get the IP of the host machine, type this in console and note down your IP address:
1
ip a
Output:
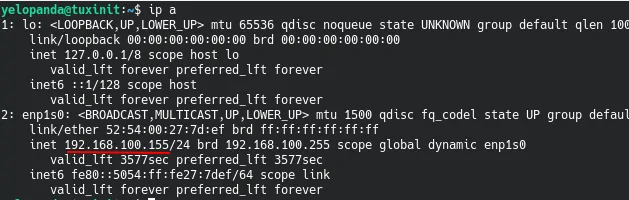
To find the port, add your display number (:0/:1/:2 etc) to 5900. i.e. if your VNC server is running on :1, then the port you will need to access it from will be 5901. For :2 it would be 5902 and so on.
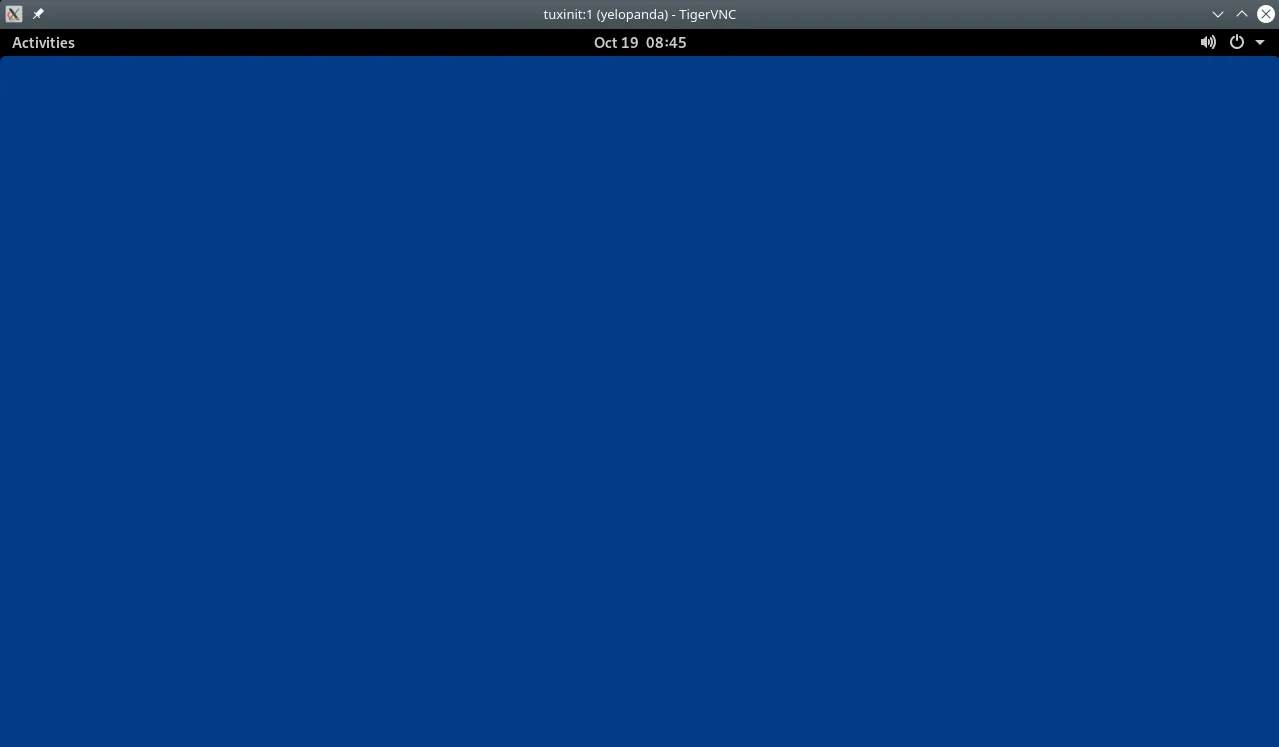
Open any VNC viewer of your choice and connect to your server. Here I am using Tigervnc Viewer.
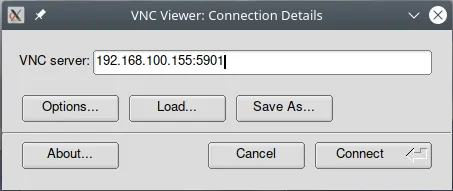 Press connect, enter your password and voila! you are connected to your server via VNC.
Conclusion
This concludes my tutorial on how to set up VNC access on your Ubuntu server.
Remember to allow the VNC port (5901 in case VNC server is running on display :1) in the firewall settings if using any. Otherwise, when you will try to connect to your VNC instance from outside the local network, you will get connection errors.
Feel free to comment on what you think about this post and your suggestions to improve this tutorial.