How to Install XFCE in Arch Linux (Simple Guide)
XFCE is a great, lightweight desktop environment for Linux. Many people prefer it over something like Gnome because it uses less resources and is very snappy, even on an older system.
In this tutorial, I will show you how you can easily install XFCE on your system running Arch Linux.
If XFCE is not for you, check out my previous posts where I have covered how to do a minimal install of KDE Plasma (or Gnome) in Arch Linux.
Installing XFCE in Arch Linux
Alright, first things first, make sure that you have Arch Linux (Base) installed on your system. If not, then go check my guide how to do a base installation of Arch Linux and then come back to this tutorial.
Once you have confirmed that, you will need to update your repositories. Also make sure that your Arch Linux Installation is up-to-date. This is a recommended step as it ensures that no installed package versions will be incompatible with the ones that we are going to install.
Use this command to update Arch Linux:
1
sudo pacman -Syuu
Now to install XFCE, type this command:
1
sudo pacman -S xfce4 xfce4-goodies
Accept any installation prompts (pressing enter key works most of the time) and wait for it to finish. Installation can take a few minutes or more, it depends on your internet speed & the hardware you are using.
 Once XFCE finishes installing, we will need a login manager (also called a display manager). A login, or display manager provides a GUI login screen, instead of the command-line one.
If you are installing XFCE on an Arch system that already has a Desktop Environment (like Gnome or KDE) installed, you probably already have a greeter. If that is the case, you can start XFCE from the login screen.
Installing a Display/Login Manager
If what I have stated above is not the case, then you will need to install one. The one I would recommend LightDM. LightDM is a lightweight & simple-to-use Display Manager.
To install LightDM, open a terminal and type:
1
sudo pacman -S lightdm lightdm-gtk-greeter
The command above will install the following things, lightdm, the display manager, & lightdm-gtk-greeter, which is a ‘GUI’ (or you can say skin) for our display/login manager.
Once the installation completes, in the same terminal type:
1
sudo systemctl enable lightdm
This will allow lightdm to start with the system, now you don’t have to manually login and start the DM every time at boot.
Note: lightdm already defaults to lightdm-gtk-greeter as a greeter, but other greeters for lightdm are also available. If you have installed any other greeter, you will need to set it in the config file for lightdm(/etc/lightdm/lightdm.conf).
Now go ahead and reboot your system. Once your computer reboots, the LightDM screen will be in front of you.
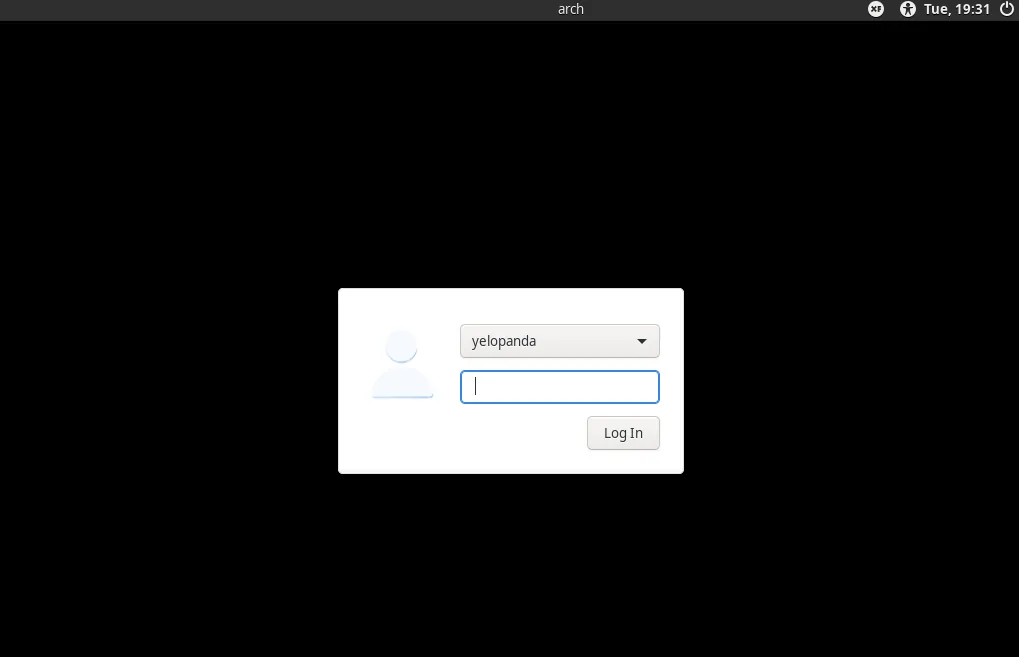 Make sure that the Session is set to XFCE, and you are logging in with right credentials (username/password).
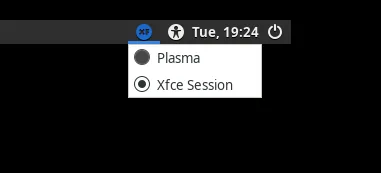 Tip: If XFCE is the only Desktop Environment installed, it will be selected by default.
Ending
There you go, you should now be running XFCE on your Arch Linux machine.
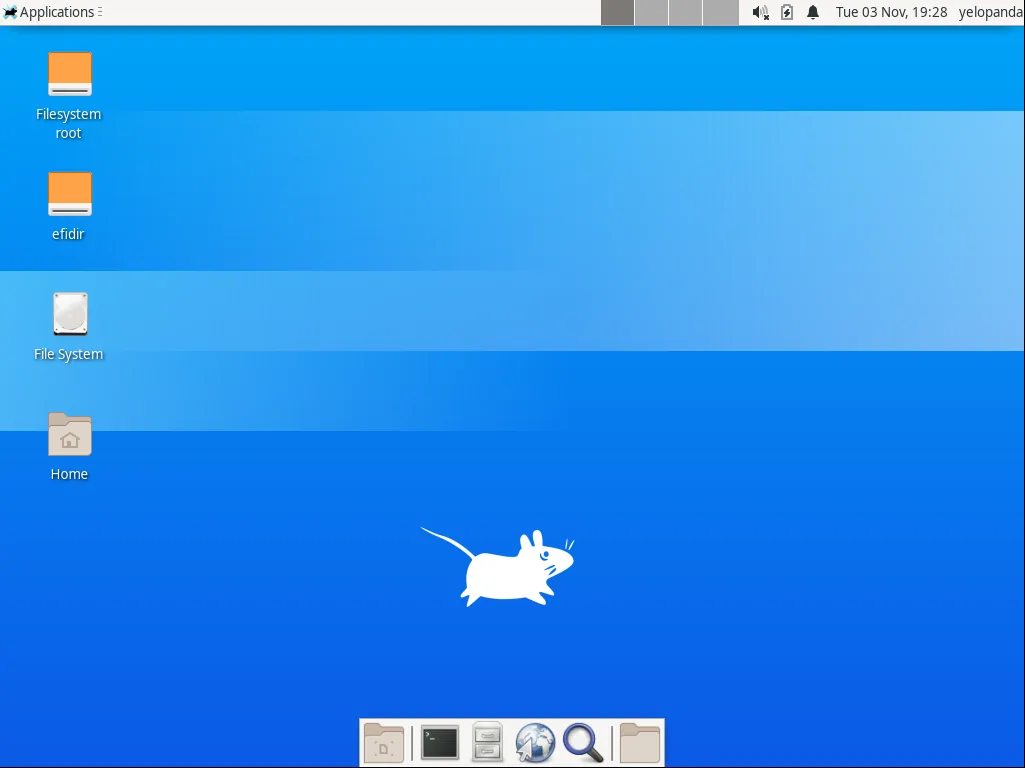 XFCE is one of my favorite desktop environment for Linux. But I can agree on the fact that it is a little plain by default. However, if you have used Distributions like Manjaro, MX, Or Xubuntu, you know how much better XFCE can look. Of course looks are subjective but still, you can make major changes to the way your XFCE install looks & feels.
There are many themes and configs available for XFCE that you can use. You can also make changes to the configuration files as per your liking.
If this post needs some improvements or you have any suggestions/questions/feedback regrading this topic, do leave a comment down below.