How to Install Gnome on Ubuntu Server (18.04 & 20.04)

Here is a tutorial on how to install Gnome on Ubuntu Server. While for most use cases, installing a desktop environment on a server does not make sense. As all the work that the server does can be monitored using command line interface (over ssh) or via website interfaces.
However, if need to install, or your workflow requires you to install a desktop environment on your VPS or home server, then follow this guide. I will show you how you can install Gnome desktop environment on Ubuntu Server (20.04 & 18.04).
First things first, make sure that your VPS or any server that you have has enough headroom (in terms of space, cpu, & ram) to install a DE, gnome in this case; Especially if you are using that server for other things as well.
Once done, run this command to update your server:
1
sudo apt update && sudo apt upgrade -y
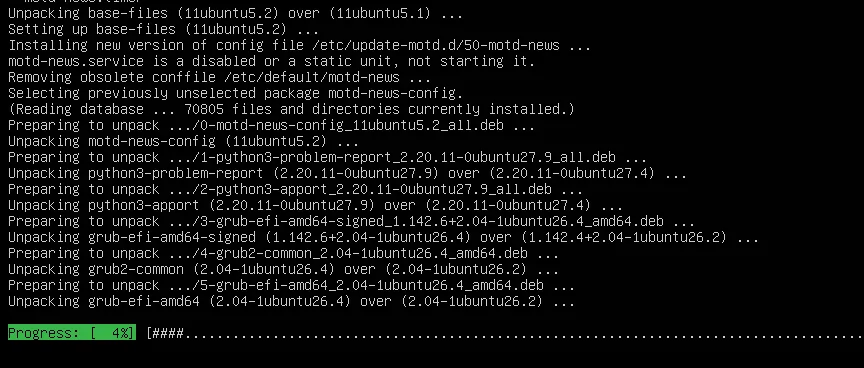 After that, type this in the terminal and let gnome install, this can take a couple of minutes.
1
sudo apt install gnome-session gnome-software gnome-system-monitor gdm3 nautilus -y
Here is the summary of what will be installed with the command above.
gnome-session : A lightweight installation of gnome desktop environment.
gnome-software : Some additional packages for gnome.
gnome-system-monitor : A GUI resource monitor to display running services, internet bandwidth usage, CPU usage, RAM usage, etc.
gdm3 : A simple Display Manager to log into gnome DE.
nautilus : Default file manager for gnome.
Now when everything installs, we will need to configure gdm3 to automatically start at boot. This is only required if you are using Ubuntu Server as a personal computer.
If you are running Ubuntu as a Headless Server (For example if it is installed on a VPS or Dedicated Server), you don’t need to start and enable gdm3 at boot.
In the console/terminal, type (no need to do this if trying to install Gnome in Ubuntu Server on a VPS/Dedicated server that you only have ssh access to.):
1
systemctl enable gdm3
and
1
systemctl start gdm3
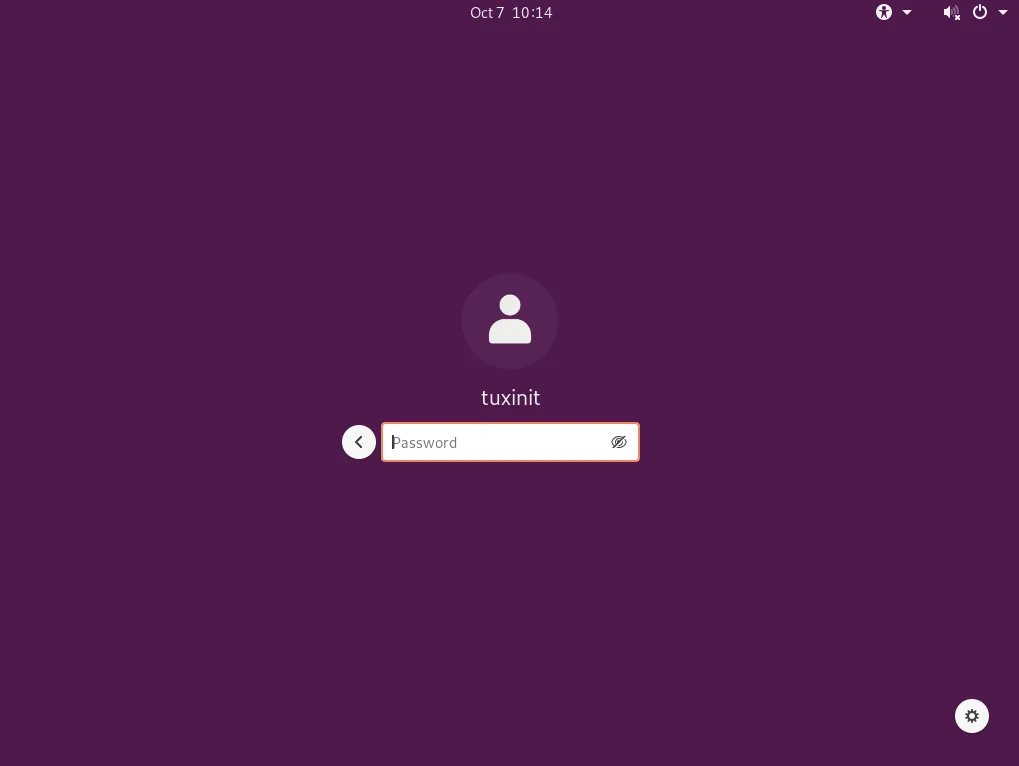
That’s it, the login screen for gnome desktop should be in front of you now. Enter your credentials and press enter. The Display manager (gdm3) will now launch automatically every time you boot your computer.
If you are tying to install Gnome onto a headless server which you have ssh’d into, you will need to set up a VNC server on Ubuntu Server to be able to see and interact with the Gnome Graphical Environment.
Check out this tutorial on how to install a VNC server on your server running Ubuntu. I have explained there How you can install and set up VNC access on your server and how to connect to it.
If gnome is not for you, check out these other tutorial on how to install XFCE, openbox, kde plasma, on an Ubuntu Server.
Conclusion
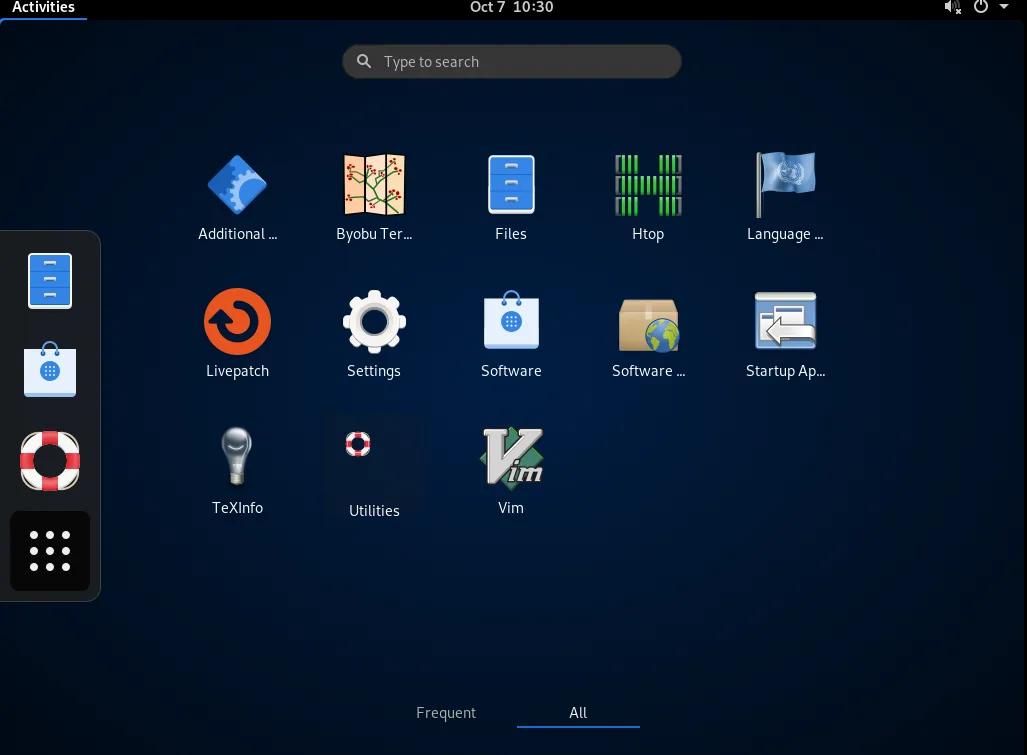
This concludes my tutorial, you should now have a proper Gnome desktop installation on your Ubuntu server.
One thank that you might want to keep in mind is that a desktop environment of any sort will use more resources than plain tty cli interface. Make sure that your server can handle it.
For example installing desktop environment like gnome on a 1gb ram vps is not a good idea, especially when you are also using the server for other purposes, like hosting your website.