How to Set Up a Simple Firewall in Linux (GUI & Command line)

Firewall is a security system meant to protect your network and connected devices from unauthorized incoming/outgoing network access.
A basic firewall setup can get a long way; It can help you secure your device from unauthorized connections, not only the ones from the internet but from your local network as well.
Here, I am going to show you how to install a firewall on your Linux machine with a few easy to follow steps.
How to Install a Firewall in Linux
First we need to select a firewal software. There are many programs available for linux, ufw, iptables, firewalld (for centos), pfsense to name a few.
The firewall software that we are going to use is called ufw. As the name implies ufw, or uncomplicated firewall is a simple firewall which is easy to install and does not require much configuration.
There are no complex steps required to use ufw. You just install it from your distro’s repositories and enable it.
I am going to show you how you can setup ufw using terminal/console and also how to set it up in GUI (Graphical User Interface).
Installing & Setting up ufw via a Terminal
While most mainstream Linux distributions these days already come pre-installed with ufw, you might still need to install it.
To install gufw via terminal, type in the following commands (For Debian, Ubuntu and their derivatives.)
1
sudo apt install ufw
For Arch Linux and distributions based on Arch Linux (i.e. Manjro), use the following command to install gufw:
1
sudo pacman -S ufw
Accept any prompt that comes on your screen (usually typing in ‘y’ to confirm installion) & ufw should install right away.
Once the installation is complete, the next step is to start and enable ufw.
In the terminal, type the following commands one at a time to enable the firewall service:
1
sudo systemctl enable ufw
&
1
sudo systemctl start ufw
To start and engage the firewall, type:
1
sudo ufw enable
The ufw service show now be up and running, to confirm, type in terminal:
1
sudo ufw status
 This is all that you need to do to set up a simple firewall on your Linux system. The default ufw firewall rules are set as such that they allow outgoing traffic but deny any incoming traffic. This setting should serve you a good enough basic firewall.
Setting up Rules in ufw
If you need to allow some application or service to use a particular port, you can set rules for that port to receive incoming traffic.
For example to allow traffic (incoming & outgoing) through port 22 the command would be:
1
sudo ufw allow 22
For tcp or udp only ports, the syntax would be like:
1
sudo ufw allow 22/tcp
Similarly,
1
sudo ufw allow 22/udp
Installing and Setting up Firewall (ufw) via a Graphical Interface
While ufw is a command line tool, there is a GUI available for it called GUFW. GUFW provides a very convenient graphical interface for ufw. You can install gufw by typing this command in terminal/console.
For Ubuntu, Debian & their derivatives:
1
sudo apt install gufw
For Arch Linux & derivatives:
1
sudo pacman -S gufw
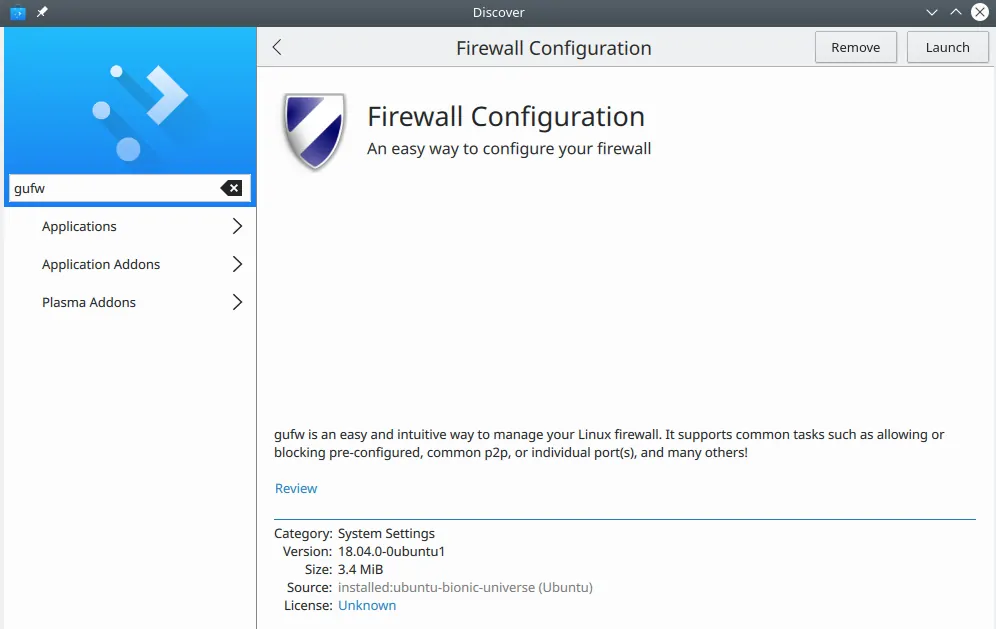
GUFW can also be installed via app stores of various Linux distributions, like in software center on Ubuntu. Just search for the term ‘gufw’ and install the first package.
 For a basic firewall setup, set incoming to ‘deny’ and outgoing to ‘allow’. Don’t forget to enable the firewall for changes to take effect.
You can ticker with other settings as well as per your requirements, To add rules, go to Rules tab & click the plus (+) sign. For there you can add the rules for specific ports or applications. Similarly to delete a rule that you have created, click the minus (-) sign.
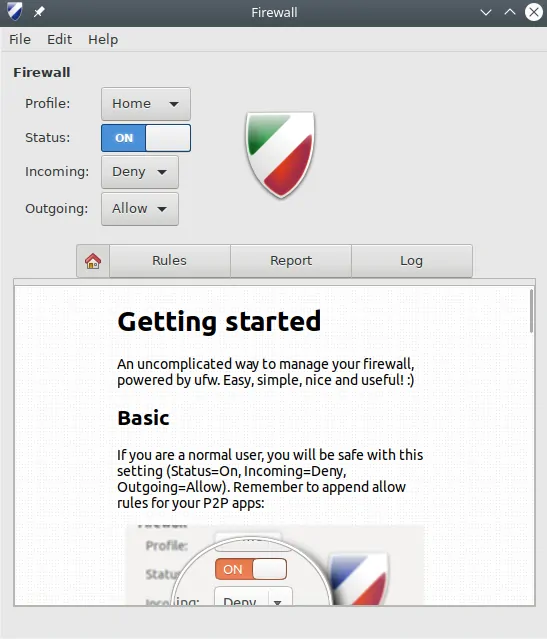 You can access the ufw logs in the Logs tab. To change logging frequency click on Edit> Preferences and change the setting there.
Conclusion
This concludes my tutorial on how to setup/install a simple firewall in Linux. The steps that I have shown are very easy to follow, even for a Linux newbie. But if you face any issues, you can also leave a comment down below.
One misc tip of security that I would live to give is don’t use root account as your main/primary account if not necessary, use sudo instead.
It increases the security of your account greatly and in case your Linux machine gets hacked, hackers will have a hard time getting around with a limited account.
This post was more oriented towards the Linux users who want to secure their home/work setups. If you are looking for a tutorial on how to secure your Linux server with firewall (CentOS)*link*, check the linked post.