How to do a Minimal KDE Plasma Desktop Install in Arch Linux
In a previous post I showed you how you can install Arch Linux on your system. That was a base install without any Desktop Environment or GUI of any sort.
Here, I will show you how you can do a Minimal installation of KDE plasma on top of your existing Arch Linux system. Let’s get started.
Prerequisites
1. An existing, functional Arch Linux Installation. You need to have Arch Linux already installed and configured. If you are yet to install arch, follow this guide to do a base installation of arch and after that you can proceed with this tutorial.
2. Working internet connection on your Arch Linux system (a how-to is available on my Arch Linux installation guide).
3. Sudo access for your user (also mentioned in the base installation guide).
Installation
First, make sure that your Arch Linux install is up-to-date by using the command:
1
sudo pacman -Syuu
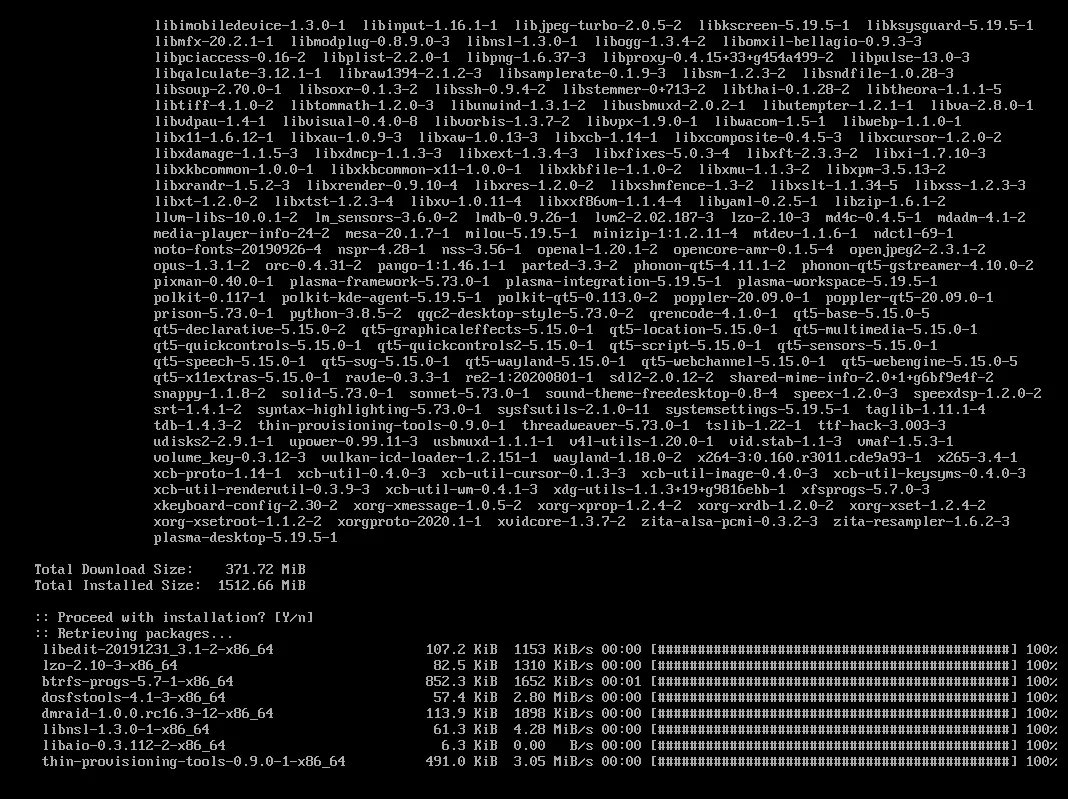
Next, download the plasma-desktop package.
1
sudo pacman -S plasma-desktop
It may ask you to choose providers for some packages, just press enter to choose the default ones and continue with the installation. It will also install the xorg display server automatically so you don’t need to worry about that.
 Once the plasma-desktop finishes installing, we can now proceed to install a display manager. A display manager is a GUI that allows us to login into our desktop environment. We will be using sddm here as it the default Display Manager for KDE Plasma.
To install sddm, type:
1
sudo pacman -S sddm
You are now pretty much ready to go. But if you start sddm and log into your plasma session, what you will see is blank desktop with no web browser, no network manager, no audio controls, no file manager, not even a terminal app.
We will need to fix that and install some essential utilities. Here are the ones I have chosen:
Web Browser: For web browser we will be using good old firefox here.
Network Manager: Kde has a package named plasma-nm that we can install and use to connected to a network (Wifi/Ethernet).
Audio: For audio, we will install plasma-pa, which is PulseAudio integrating for Plasma desktop.
File Manager: Dolphin is the file manager that we are going to install.
Terminal: As for terminal, we will be installing Konsole. It is the default terminal app for KDE.
I have also chosen to install the kdeplasma-addons package. It provides some extra widgets for your status bar such as Caps lock indicator, Microphone indicator, Night color switcher, etc.
GTK Styling: Some apps on KDE look a bit off (in terms of styling) without this. To configure this, after install, go to Settings>Appearance>Application Style> GNOME/GTK Application Style. (Note: You might need to reboot your system for this setting to appear.)
Again, these are the ones I have chosen to install as they work great with KDE Plasma, as long as you know what you are doing, you can replace them with other utilities of your liking.
Now to install them, use command:
1
sudo pacman -S firefox plasma-nm plasma-pa dolphin konsole kdeplasma-addons kde-gtk-config breeze-gtk
Once the installation finishes, use these two commands (case-sensitive) to start and enable network manager.
1
sudo systemctl enable NetworkManager
1
2
sudo systemctl start NetworkManager
Optional Packages:
powerdevil: If you are installing kde plasma on a device like a laptop or notebook, you might want to install powerdevil. Powerdevil will show you device’s battery percentage in the system tray and also grant you controls to adjust screen brightness. It also provides settings like lid close action, screen timeout, sleep settings, low-battery action etc.
kscreen: This package will allow you to configure your monitor/s. If you want to change orientation, resolution, scaling, & refresh rate of your monitor then you will need this app. kscreen is also recommended for setups with multiple monitors.
We can now go ahead and log into the KDE Plasma Desktop. First, lets enable sddm so it gets started on boot.
1
sudo systemctl enable sddm
Now enter the command below to start sddm
1
sudo systemctl start sddm
Once you type the above command, you should see a login screen, enter your details there and login.
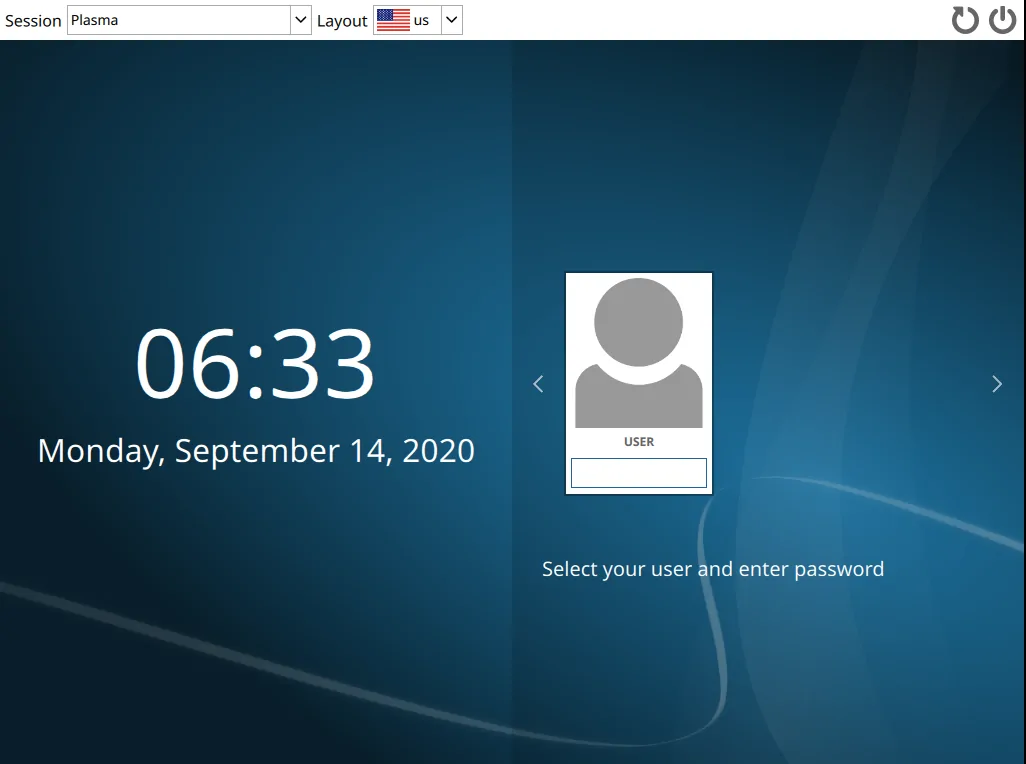 Voilà, you are now running a minimal plasma desktop in Your Arch Linux.
Conclusion
So we are at the conclusion, hope your Arch install is now up and running with the Plasma desktop environment. As it a minimal install, there are many things that you might find missing from your install. Like a photo viewer, video player, email client and so on. But this was exactly the reason why I decided to write this little guide.
Most of the other KDE Plasma installs that I have seen, come with a ton of ‘useful’ software pre-installed. These bloat.. ahem ‘useful’ software fill the storage space and can be a pia to remove and can cause problem if forcefully removed (dependency errors).
When we skip the kde-applications package, we can reduce the size of installation and number of total programs installed by quite a bit.
Now go ahead and start installing your favorite packages. Apart from the essential packages that I have mentioned, you might want to install some other programs that you will need.
Here are my recommendations:
Video Player : mpv, a simple, multi-platform video player.
Photo Viewer : Viewnior or nomacs, supports most of the image formats out there, are lightweight, and offer basic image manipulation options.
- Edit: nomacs has been removed from Arch’s repo’s due to being unmaintained and now is only available in aur.
Text Editor : kate, works good on kde and has multi-tab support.
AUR Helper : yay (Yet Another Yagurt) for cli, and for GUI pamac or octopi. Pamac and octopi can also be used as a software manager for normal packages.
Thanks for reading, do leave your feedback, suggestions, and questions in the comments down below.